Introduction:
If you’ve been dreaming of healthier stronger hair and are tired of using products with toxic chemicals that do more harm than good, it’s time to turn to nature’s remedy — rosemary. This fragrant herb isn’t just for seasoning your chicken; it can also work wonders for your hair. In this DIY guide, we’ll show you how to create your very own rosemary hair growth serum to naturally boost your hair’s health.
Why Rosemary?
Before we dive into the recipe, let’s explore why rosemary is a superstar for hair growth:
- Stimulates Hair Follicles: Rosemary contains ursolic acid which helps to increase scalp circulation, promoting hair growth.
- DHT Blocker: It can reduce the production of dihydrotestosterone (DHT) which is a hormone linked to hair loss.
- Strengthens Hair: Rosemary is rich in antioxidants that help strengthen hair strands and prevent breakage.
- Dandruff Control: It has anti-inflammatory and antifungal properties that can help soothe an itchy scalp and control dandruff.
- Shiny and Soft Hair: Rosemary can add shine and softness to your hair, making it more manageable.
Ingredients & Tools
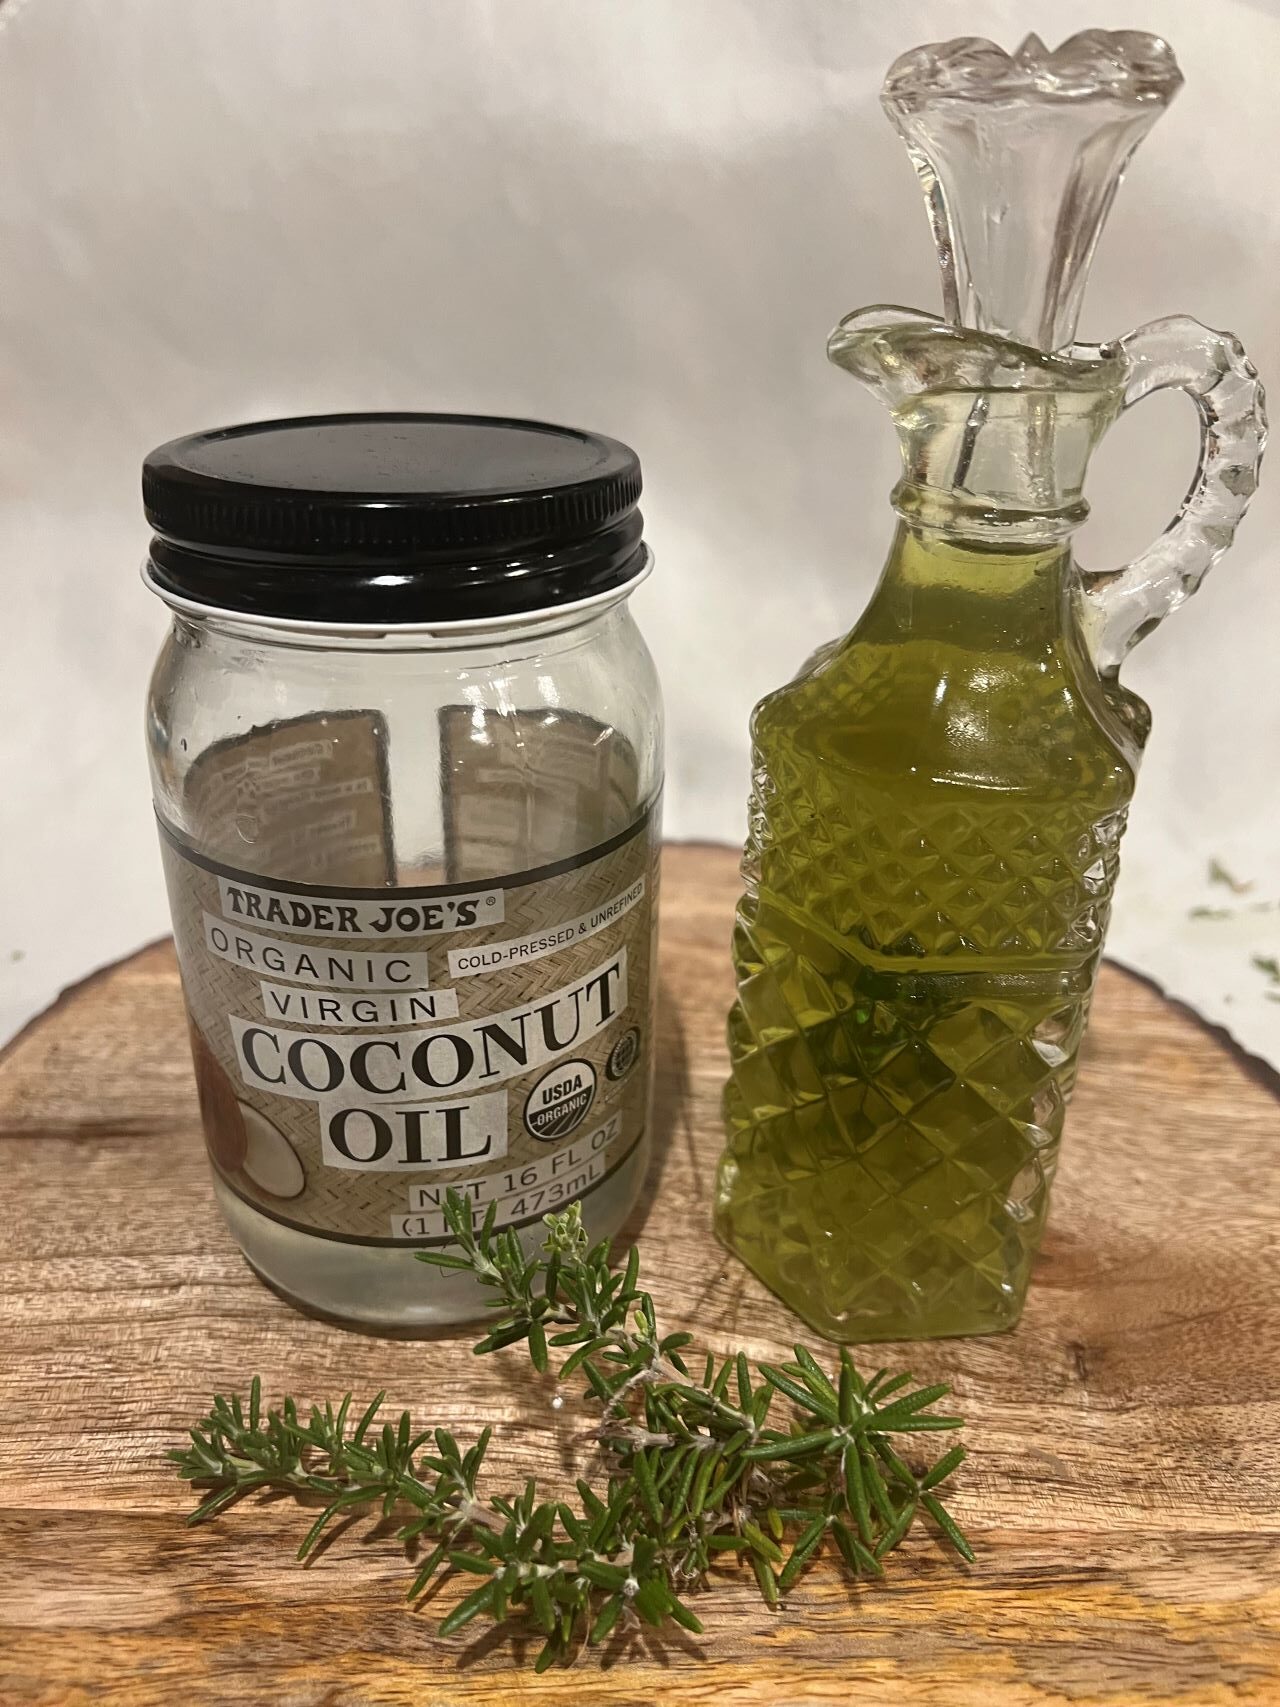
- 6 sprigs of fresh rosemary or (1/2 cup of dried rosemary leaves)
- 1 cup of carrier oil (e.g., jojoba, coconut, or olive oil)
- A glass jar with a tight-fitting lid and/or dropper with beaker
- Sauce pot
- Cheese cloth for straining
- Rubber band or ribbon (keeps cheese cloth on jar)
Instructions:
- Gather Your Supplies:
- Collect your rosemary leaves and ensure your glass jar is clean and dry.
- Prepare the Rosemary:
- If using fresh rosemary, wash and thoroughly dry the leaves. Using scissors or a knife, cut rosemary into smaller pieces to activate the properties of the leaves. If using dried rosemary, no preparation is needed.
- Infuse the Oil & Simmer:
- Place sauce pot with coconut oil over medium heat.
- Then add the rosemary leaves into the pot.
- Allow the ingredients to bubble for two minutes then reduce heat to low. At this time, you should notice the leaves will lose their color from green to a light brown (this process should take about 4-6 minutes).
- Straining and Jarring:
- Remove the pot from the fire and set aside to cool. This step is part of the infusing process, and it is crucial to let the oil completely cool before straining and jarring it. This allows the beneficial properties to seep into the oil.
- Seal the jar tightly and store it in a cool, dark place for at least two weeks. The longer it sits, the more potent your serum will become. Shake it gently every few days.
- Store & Enjoy!
- At this point you can choose to keep your oil in the jar you have just prepared, or for easier application, transfer the oil into a bottle with a dropper. Ultimately it doesn’t matter which you choose to use for storing, but once you have chosen your container it’s important to store your oil in a cool dry place. In doing so, you will extend the life of your oil and its effectiveness.
How to Apply:
Now that you have made your oil it’s time to apply it to your hair.
- Pour a few drops of the Rosemary Hair Growth Serum onto your fingertips.
- Gently massage it into your scalp for 5-10 minutes.
- Leave the serum on for at least 30 minutes or overnight for maximum benefits.
- After the treatment, wash your hair with your regular shampoo and conditioner.
Conclusion:
With this DIY Rosemary Hair Growth Serum, you’re tapping into the age-old wisdom of herbal remedies for healthier, more vibrant hair. Regular use can help stimulate hair follicles, strengthen your strands, and give you that enviable shine. Plus, the soothing scent of rosemary makes your haircare routine an aromatic delight.
Say goodbye to expensive hair treatments and chemicals, and hello to the natural beauty of rosemary. Start your hair transformation today with this simple, yet effective, DIY serum. Your locks will thank you for it!
Note: Always do a patch test before using any new product on your skin or hair, especially if you have sensitive skin or allergies. If you experience any irritation, discontinue use.

